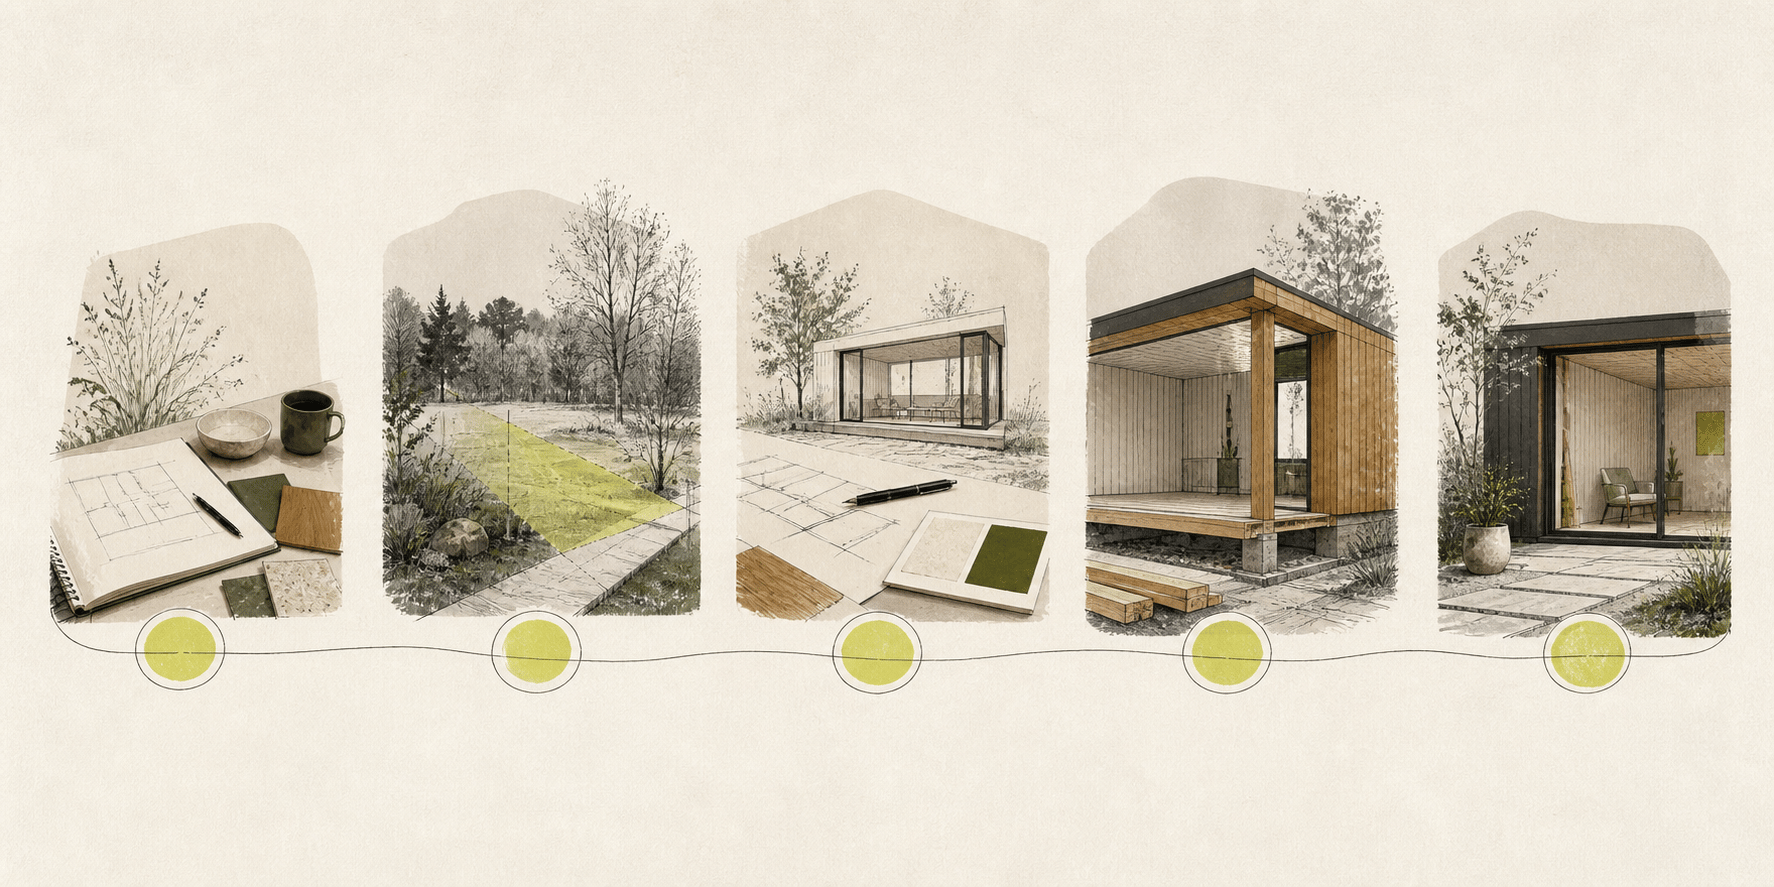
Embarking on a garden room project is an exciting way to create versatile living, working, or leisure space without the disruption of a house extension. This practical step-by-step roadmap walks you through defining usage, evaluating plot geometry, selecting foundation systems, routing electrical supplies, and establishing a clear budget.
FIG. 01Concept Diagram: Turnkey design, fabrication, and installation workflow sequence
Project Planning & Budgets / Technical Guidance
Section 01
Step 1: Clarify Function, Layout, and Spatial Needs
The most successful garden room projects start with a clear understanding of how the space will be used on a daily basis. Rather than simply picking an arbitrary building dimension, work backwards from your intended furniture, equipment, and movement flow.
Common primary use cases include:
• Dedicated Garden Office: Requires desk placement with good natural daylight, anti-glare screen positioning, sufficient double sockets, and acoustic separation for video calls.
• Home Fitness Studio: Demands adequate internal ceiling height for overhead lifts, robust reinforced subflooring for weights, ventilation, and durable non-slip flooring.
• Multi-Purpose Garden Lounge & Guest Studio: Benefits from wide bi-folding doors opening onto a patio, integrated mood lighting, and flexible seating zones.
• Dual-Zone Buildings: A popular design incorporates an insulated main room alongside a separate, partition-divided secure garden storage zone with independent exterior door access.
FIG. 02Tools & Material Preparation Vignette
Project preparation / Flat study
Footprint Sizing Guide
As a general guideline: Compact (approx. 3m × 2.5m) is ideal for a single-desk executive workstation; Medium (approx. 4m × 3m) accommodates dual desks, meeting space, or a compact gym; Large (approx. 5m × 3.5m+) provides ample room for multi-purpose family living, fitness studios, or partitioned storage.
Section 02
Step 2: Assess Your Garden Plot and Site Logistics
Once you have a general footprint in mind, conduct a practical site assessment of your garden:
Ground levels and gradients: Very few UK gardens are perfectly level. Minor slopes can easily be bridged using adjustable ground screw foundations, while steeper inclines may require terracing or stepped foundation engineering.
Side access and pathway width: Building materials, timber frames, and double-glazed units must be carried from the delivery vehicle into the garden. Check the width of side gates, alleyways, and overhead clearances.
Boundary clearances: Siting your room at least 400mm–500mm away from boundary fences ensures adequate airflow around the exterior cladding, allows room for rainwater guttering, and provides space for future maintenance.
Sun path and natural light: Observe where the sun falls across your garden throughout the day. Siting glazing to face south or west maximises daylight, but may benefit from roof overhangs or Low-E glass to moderate summer heat.
Tree roots and soil conditions: If mature trees are situated near the build area, specialised foundation techniques (such as ground screws) should be used to avoid severing structural tree roots.
Section 03
Step 3: Plan Electrical Supply, Lighting, and Broadband
A modern garden room functions as an extension of your home and requires a reliable, certified electrical connection:
Armoured Cable Trench: A steel wire armoured (SWA) cable is routed underground from your house's main electrical consumer unit to a secondary RCD-protected consumer unit inside the garden room. In domestic gardens, cables are typically buried at a safe depth with warning marker tape.
Main Consumer Unit Capacity: During a site survey, an electrician will inspect your home's main fuse board to ensure spare capacity exists for the additional garden circuit.
Internal Socket and Lighting Layout: Plan socket positions around desk locations, gym equipment, and entertainment units. Recessed LED ceiling downlights and external canopy spotlights provide clean, modern illumination.
Internet Connectivity: For uninterrupted video conferencing and fast data transfer, running an outdoor-grade CAT6 ethernet cable alongside the electrical feed is the gold standard. High-power outdoor mesh Wi-Fi nodes are an effective wireless alternative for moderate broadband needs.
Section 04
Step 4: Choose the Right Foundation System
The foundation is the critical substructure that ensures your garden building remains level, stable, and protected from ground damp across decades:
Ground Screw Foundations: Heavy-duty galvanised steel ground screws are driven deep into load-bearing soil using precision hydraulic machinery. Ground screws require zero excavation, create no spoil heaps, cause minimal garden disturbance, and can be installed in a single day even on sloping ground or near tree root zones.
Engineered Concrete Slabs: A traditional poured concrete base on a compacted hardcore sub-base. Concrete slabs provide a solid, continuous floor platform, making them suitable for very heavy commercial gym machinery or workshop equipment, though they require ground excavation, concrete delivery access, and curing time.
Foundation Systems Comparison
Feature
Ground Screw System
Concrete Slab Base
Installation Speed
1 day (immediate build start)
2–4 days (plus curing time)
Garden Disruption
Minimal (no soil excavation)
High (excavation & spoil removal)
Suitability on Slopes
Excellent (adjustable heights)
Requires retaining works or shuttering
Tree Root Proximity
Low impact on root systems
Can damage shallow tree roots
Airflow Beneath Floor
Continuous ventilated void
Direct slab contact (requires DPM)
Section 05
Step 5: Establish a Realistic Turnkey Budget
When comparing garden room quotes, it is essential to understand what is included in the base price versus what may be treated as hidden extras by different suppliers.
A comprehensive turnkey specification should include:
• Complete foundation system (ground screws or engineered base)
• External cladding (composite or treated timber) and EPDM roofing
• Double-glazed doors and casement windows with security locks
• Internal drylining, plaster skim, and emulsion paint finish
• Commercial-grade laminate or LVT flooring with acoustic underlay
• Full internal electrical package (sockets, USBs, consumer unit, LED lighting, digital heater)
Variables that may affect overall investment include the length of the electrical cable trench from house to garden, ground clearance requirements, premium bifold door upgrades, and custom partition walls.
Section 06
Step 6: Project Timelines and What to Expect
A professionally managed garden room build typically follows a structured timeline:
1. Initial Consultation & Site Survey: In-person plot assessment, measuring garden dimensions, reviewing electrical routes, and discussing layout preferences.
2. Proposal & Specification: Itemised proposal detailing exact dimensions, material finishes, and all turnkey inclusions.
3. Fabrication & Groundwork: Off-site precision timber preparation and on-site foundation installation.
Clear answers from our installation team regarding building specifications and planning rules.
01How long does on-site construction of a garden room typically take?
On-site installation of a standard bespoke garden room typically takes between 7 and 14 working days, depending on building size, foundation type, weather conditions, and custom internal specifications.
02Can a garden room be installed if my garden is sloping?
Yes. Adjustable ground screw foundation systems are specifically engineered to accommodate garden gradients and uneven terrain, creating a perfectly level structural platform without the need for extensive soil excavation or concrete retaining walls.
03Do I need to clear my garden before the build team arrives?
The proposed building area should be cleared of bushes, sheds, or surface obstructions. During a site survey, we assess ground conditions and discuss any necessary pre-build site preparation.
04How is internet routed to the garden room?
The most reliable method is running an armoured CAT6 ethernet data cable through the underground trench alongside the electrical feed, connecting your home broadband router directly to an internal data socket or Wi-Fi access point in the garden room.
Studio Range Specifications
Explore Related Build Specifications
Review specifications, turnkey finishes and thermal details across our garden building ranges.
01Local Service
Contemporary Garden Rooms
Bespoke design, site survey and a complete modern garden room specification.
02Zero Maintenance
Composite Garden Rooms
Ultra-low-maintenance composite cladding that never requires sanding or painting.
03Cost Guide
Pricing & Sizing Guide
Detailed pricing factors, footprint sizes, and comparison against extensions.
04Home Working
Garden Offices
Dedicated work studios with integrated power, data routing, and acoustic comfort.
Editorial Knowledge Base
Further Reading & Practical Advice
Explore additional planning checklists, thermal guides, and project roadmaps from our build team.
A cautious, factual first check covering Permitted Development, incidental use criteria, boundary height limits, local authority checks, and Lawful Development Certificates.